
To work properly, Lightburn Pro must be configured with the Lightburn Pro configuration file for LaserKube-X.
Open Lightburn Pro.
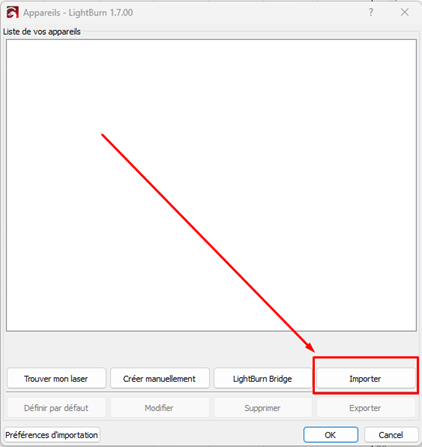
Click on “Devices

In the next window, click on “Import”:
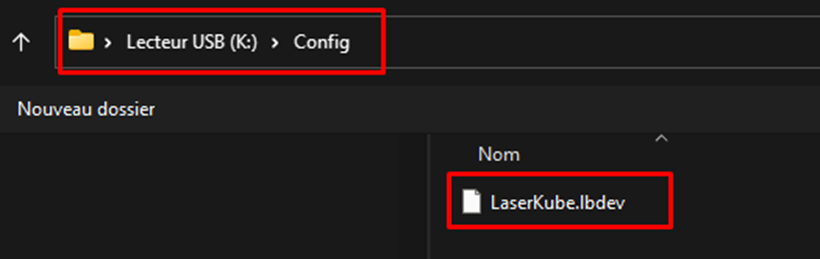
Select the “laserKube.lbdev” file on the USB key in the “Config” folder or download the file by clicking on this link: Configuration file
Click OK, and the LaserKube machine should now appear in LightBurn Pro:
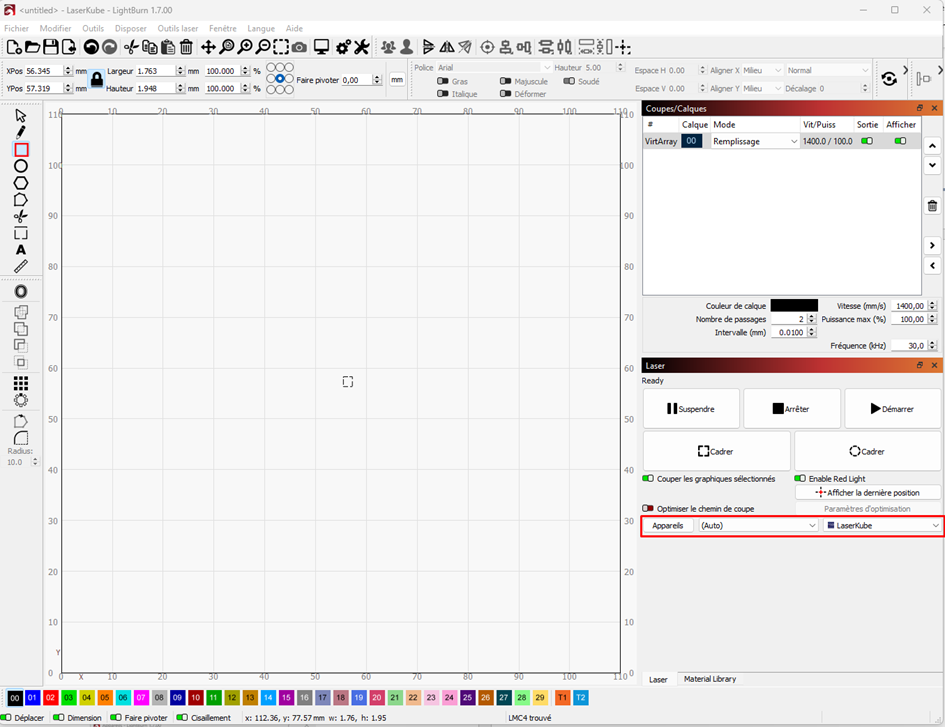
Your LaserKube Pro marking machine is now ready to engrave.